One evening, out of nowhere, Karen asked me if I’d like to learn how to build a Ukulele? She knows better than anyone that I have zero wood working skills. But, she found a week long class at the Pennsylvania Guild of Craftsman (not a sponsor) in Lancaster PA. She suggested I take a week off so that I could build my own Ukulele. I don’t know how to play a ukulele. I did own one for a short time and learned a few chords but my daughter Sidney sort of commandeered it and took it off to college, so I never really learned to “play” it. The course description said “no woodworking experience needed” and it sounded like an opportunity too good to pass up!
I arrived without any knowledge of what specifically we would be doing, other than having a working ukulele at the end of the week. I walked in and saw a lot of little pieces scattered across two tables. Multiple woods to choose from, and options available to really customize it and make it your own. There were only two other students (Chris and Steve, Chris had taken the class before and decided to make 2 this time) and our instructor Allen Androkites. I think Allen’s first comment was that we would all know a lot more about each other at the end of the week, and he was right. Throughout the week we all shared stories of our experiences and travels and I felt like I made 3 new friends.
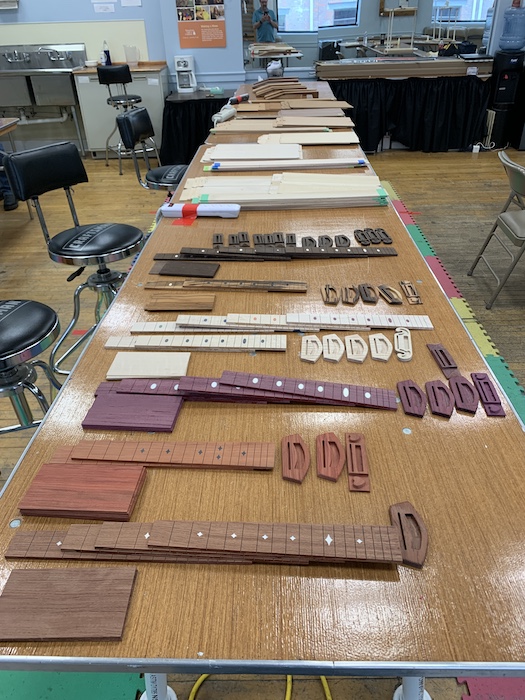
After a short lecture on the different types of wood available (so many choices!) we picked out what we wanted for the front, the back, the sides, the fretboard…. you get the idea. Once I selected my favorite pieces that I hoped would look well together (I chose Mahogany for the body and neck with Tigerwood for the fretboard and bridge), it was back to my table for the next set of instructions.
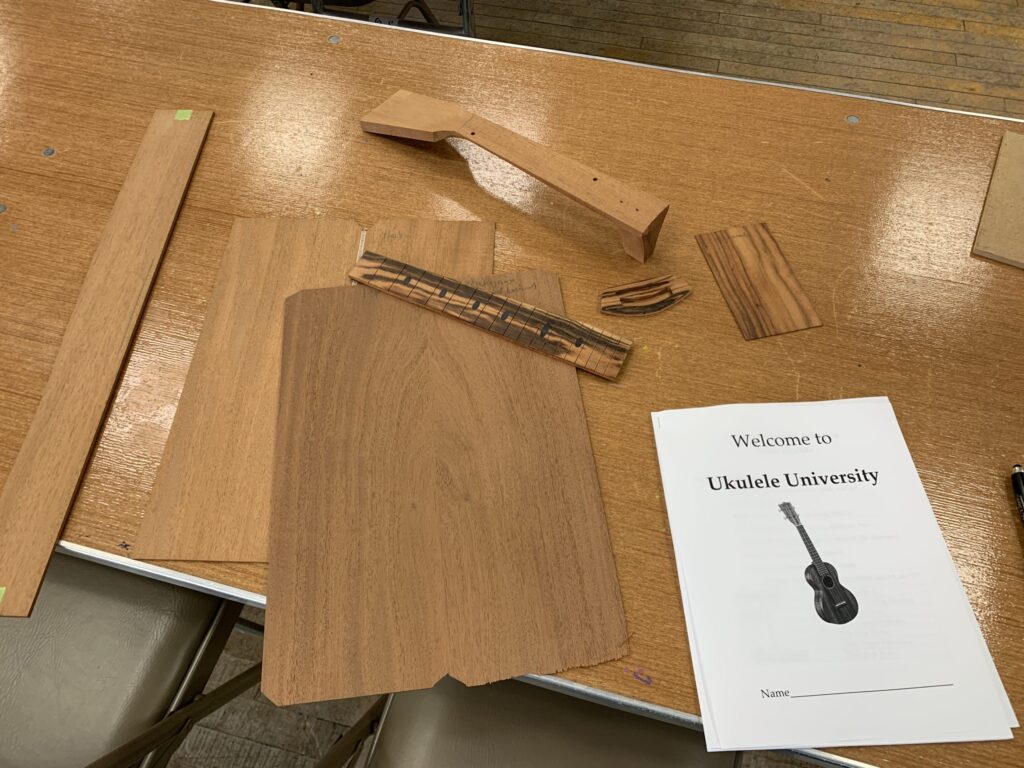
We used templates to help mark where cut, where to glue, and where to drill. I’m not going to go into all the steps but I learned how to wet, heat, and bend the wood for the sides. I learned how to router the notch for the rosette, and I learned how to shape, trim and glue the internal supports so that your back has a curve. My fellow students had experience with woodworking but I didn’t feel left behind. Allen was awesome at making sure I understood how all of the equipment worked before I potentially damaged any of my pieces.
[URIS id=2017]
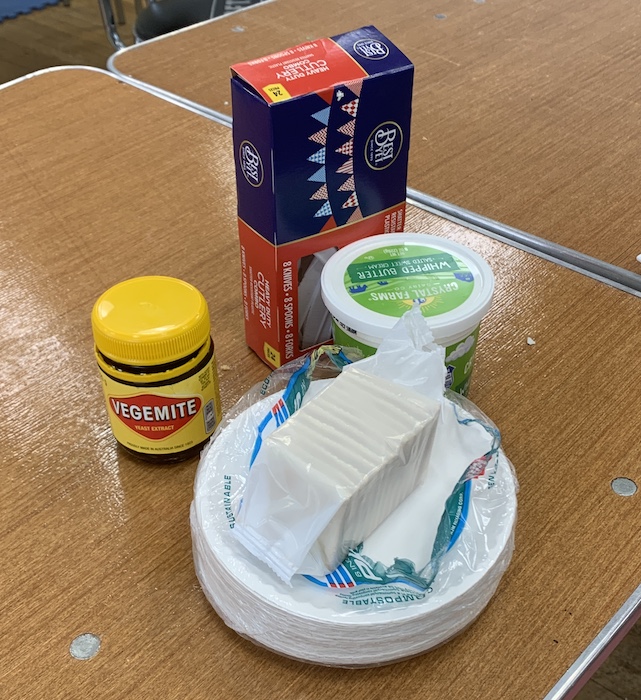
We had a special treat at the start of our second day. My classmate Steve grew up in Australia and brought in Vegemite for us to try. He showed us the proper way to eat it (sounds like newbies often spread it too thick). Overall, it was very salty with a somewhat meaty flavor. The Guild Director had also dropped off some Philly pretzels for the class and my classmate Chris figured out that Vegemite and pretzels go really well together!
Day 2 was about assembling the body. We started with the sides first, sizing then gluing the two sides together. Once they were dry we had to sand them using these special sanding disks, (Luthier Disc, I think) one flat, but the other had the 15’ radius curve needed for shaping the back. Before assembling the back and sound boards, we finished the supports. Next we added the kerfing strips to the sides for support. Once everything was dry it was time for more sanding (and sanding, and sanding). We lined up our center lines and marked and trimmed the supports, and glued it all together. We also managed to do some prep work on the neck to get ready for the next day.
[URIS id=2026]
Third day – Neck day. We did so some prep work on the body, sanding and wetting and sanding some more. We also needed to carve out the neck joint (our neck used a dove tail connection like those used on Martin Ukuleles). We cut and added the frets and the side dots. The fret wires took a lot more work than I anticipated. Once they were installed and checked (using the fret rocker), they needed filed. There are multiple steps to taper and round and file so that they are not sharp to the touch. Several very specialized files, each having a different role, just to smooth the fret edges.
[URIS id=2029]
Day 4 was putting the remaining parts together. We had to align and attach the neck (there are too many steps to mention). We then glued on the bridge. And once all things were dry, it was sand, and sand…. and sand some more. We also carved the string guides in the nut (several special files since the strings are not all the same size). All this prep so we could get several coats of oil applied before we went home. Now we could really see what the final product is going to look like!
[URIS id=2031]
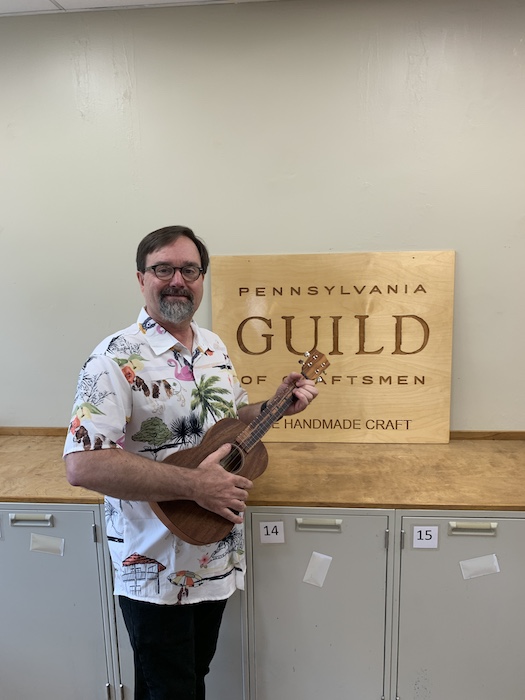
Day 5 was wear your Hawaiian shirt day (because it is also picture day!). Today was about attaching the tuners, finishing the bridge, making saddle adjustments, and putting on the strings. Done! Then comes the challenge of 4 people trying to tune at the same time with strings that will continue to stretch for 3 weeks!
[URIS id=2053]
All in all it was a fantastic week that I hope to do again! I’m going to try to talk one of my kids to come with me next time. Allen is an awesome instructor, super knowledgeable, and has lots of patience. You can see his passion around creating a quality product. If you can spare a week of your life, I highly recommend the experience.